I cut the top layer in yellow and the base in pink. I made the base by copying the bottom layer and welding it to make the card. For some reason, when I saw this cut, I immediately thought "heavenly" and since the top reminded me of a window, I inked up some white paper, using blue distress ink, to form a cloud scene. Stamped 'Happy Easter' on the inside to finish.
Take a look at the great projects at CREATIVE CUTTING CHALLENGE and enter your Easter projects. Remember, all entries must have an SVG file.
HAPPY EASTER!
Monday, March 31, 2014
Monday, March 17, 2014
CREATIVE CUTTING CHALLENGE - Anything Goes
6:00 AM
Posted by
T's Corner for Craftin'
For this challenge, I decided to use the World's Best Mom cut! I started out with a 6 x 6 ceramic tile and embossed my sentiments (huggable, sweetness, adorable, and thankful) for my border. I used paper butterflies for the corner embellishments (Michael's $1 bin). I cut the World's Best Mom layers in a 4 x 4 area. As you can see, the base and letters in black and the middle layer in white. It was really easy to put these layers together by the shape of the base. After cutting, and putting the layers together, I adhered the cut to the tile using mod podge, and in order to give the cut some durability and shine, I painted a thin coat of mod podge over it.
Come join us at the Creative Cutting Challenge and enter your SVG project! If there are at least 15 entries, the prize for this challenge will be a $5 Gift Certificate for SVG files from the Cut & Create online store where there are over 100 SVG files/sets to choose from!
Even if you do not enter, please visit the Creative Cutting Challenge Blog and see all of the great projects created by the design team, and all of the great entries. And, please, leave comments!
Have a great day!
Come join us at the Creative Cutting Challenge and enter your SVG project! If there are at least 15 entries, the prize for this challenge will be a $5 Gift Certificate for SVG files from the Cut & Create online store where there are over 100 SVG files/sets to choose from!
Even if you do not enter, please visit the Creative Cutting Challenge Blog and see all of the great projects created by the design team, and all of the great entries. And, please, leave comments!
Have a great day!
Monday, February 3, 2014
LOVE CHALLENGE
2:00 PM
Posted by
T's Corner for Craftin'
Using the VALENTINE SET and the VALENTINE HEARTS SET set for this card. For the background I layered two pieces of vellum--one pattern (striped) and one plain-- which I embossed with the circle heart stamp. I then used the heart border from the Valentine Hearts set for the top and bottom borders. I used the word "LOVE" from the Valentine set. For the inside I combined the two sets again, using the heart and the cupids. I had fun making this card because it took me out of my comfort zone. Layering the vellum was a challenge. I decided to use wet glue so that it would buckle some. In order to hide the adhesive, I put it behind all the elements on the front of the card."
Show us your love projects at CREATIVE CUTTING CHALLENGE! Any entry (that features an electronic cutting file) geared towards "LOVE" will be accepted: Valentines, Weddings, Engagements, etc.
Monday, January 20, 2014
VALENTINE'S DAY CHALLENGE
9:30 PM
Posted by
T's Corner for Craftin'
This challenge is all about Valentine's Day!
I created this tri-fold box ATC using theValentine Hearts file. I used the Double Heart for the front of the card. I covered the outline (red) and the inside heart in UTEE for dimension. The background is fabric that I embossed with a "love letter" stamp. Red and white roses to finish off the front. On the inside, I used the Heart Lock cut and added a keepsake key embellishment. "To my love" is stamped above the heart lock - representing that I am giving my love the key to my heart." I also cut each side in order to feed the "key to my heart" ribbon (adhesive on the back of the ribbon).
Hop on over to CREATIVE CUTTING CHALLENGE and enter your Valentine projects. You can check out all of the great submissions of the design team also.
If there are at least 15 entries, the prize will be a $5 gift certificate for SVG files from Creative Pointe's ONLINE STORE! You will find over 150 SVG file/sets to choose from.if there are less than 15 entries, the winner will receive the VALENTINE SET!
Winner will be randomly chosen from all submissions and one extra special entry will receive the "Creative Choice" button.
I created this tri-fold box ATC using theValentine Hearts file. I used the Double Heart for the front of the card. I covered the outline (red) and the inside heart in UTEE for dimension. The background is fabric that I embossed with a "love letter" stamp. Red and white roses to finish off the front. On the inside, I used the Heart Lock cut and added a keepsake key embellishment. "To my love" is stamped above the heart lock - representing that I am giving my love the key to my heart." I also cut each side in order to feed the "key to my heart" ribbon (adhesive on the back of the ribbon).
Hop on over to CREATIVE CUTTING CHALLENGE and enter your Valentine projects. You can check out all of the great submissions of the design team also.
If there are at least 15 entries, the prize will be a $5 gift certificate for SVG files from Creative Pointe's ONLINE STORE! You will find over 150 SVG file/sets to choose from.if there are less than 15 entries, the winner will receive the VALENTINE SET!
Winner will be randomly chosen from all submissions and one extra special entry will receive the "Creative Choice" button.
Monday, January 6, 2014
FOR THE BOYS
12:00 PM
Posted by
T's Corner for Craftin'
This is the first challenge for 2014 - FOR THE BOYS - and we have some great projects from the design team. Check them out at CREATIVE CUTTING CHALLENGE.
I used the FOOTBALL SET and this set has a variety of great cuts and of course I had to use pictures of my star football player!
From the FOOTBALL SET I used the helmet, football, and the silhouettes. I cut the helmet twice to make the layers (had to add that silver paper for the grill) and added brads for accent. I must say that the title is my favorite part of the page. Using the silhouettes over the word "football" (which was printed on the paper) added so much action. I used SCAL for the letters and numbers. And, of course I had to cut the football - it was a "must have". My page would not have been complete without it!
Check out the sets at the ONLINE STORE and enter your projects at CREATIVE CUTTING CHALLENGE.
I used the FOOTBALL SET and this set has a variety of great cuts and of course I had to use pictures of my star football player!
From the FOOTBALL SET I used the helmet, football, and the silhouettes. I cut the helmet twice to make the layers (had to add that silver paper for the grill) and added brads for accent. I must say that the title is my favorite part of the page. Using the silhouettes over the word "football" (which was printed on the paper) added so much action. I used SCAL for the letters and numbers. And, of course I had to cut the football - it was a "must have". My page would not have been complete without it!
Check out the sets at the ONLINE STORE and enter your projects at CREATIVE CUTTING CHALLENGE.
Thursday, December 19, 2013
MERRY CHRISTMAS!
12:30 PM
Posted by
T's Corner for Craftin'
Over the next few days, as we are approaching Christmas, remember WHO Jesus is, and remind everyone you see of the Reason for the Season.
My sister has kept me pretty busy this holiday season making Christmas cards!
I would like to wish everyone a MERRY CHRISTMAS and a HAPPY NEW YEAR!
Have a safe holiday and I will see you next year!
** Be sure to check out all of the challenges and great projects at Creative Cutting Challenge!!!
My sister has kept me pretty busy this holiday season making Christmas cards!
This was a HIT!
Working with a little acetate paper, some snowflakes, stamps, and a circle punch and this is what I get!
The background is actually an SVG (Birds Cards), but instead of cutting it, I blew the dust off of those Cri-Cut pens and out came this great background!
Thanks to Brandon (my 5 yr old grandson), we came up with this great card! We used the circle punch, a little bling, stickles, stamps, and glitter. The tree and the hat are SVG files. Great fun!
This was scrap lifted, but I couldn't help it. I just loved it when I saw it!
I was putting my Cricut to work and at the same time, I was learning a few things!
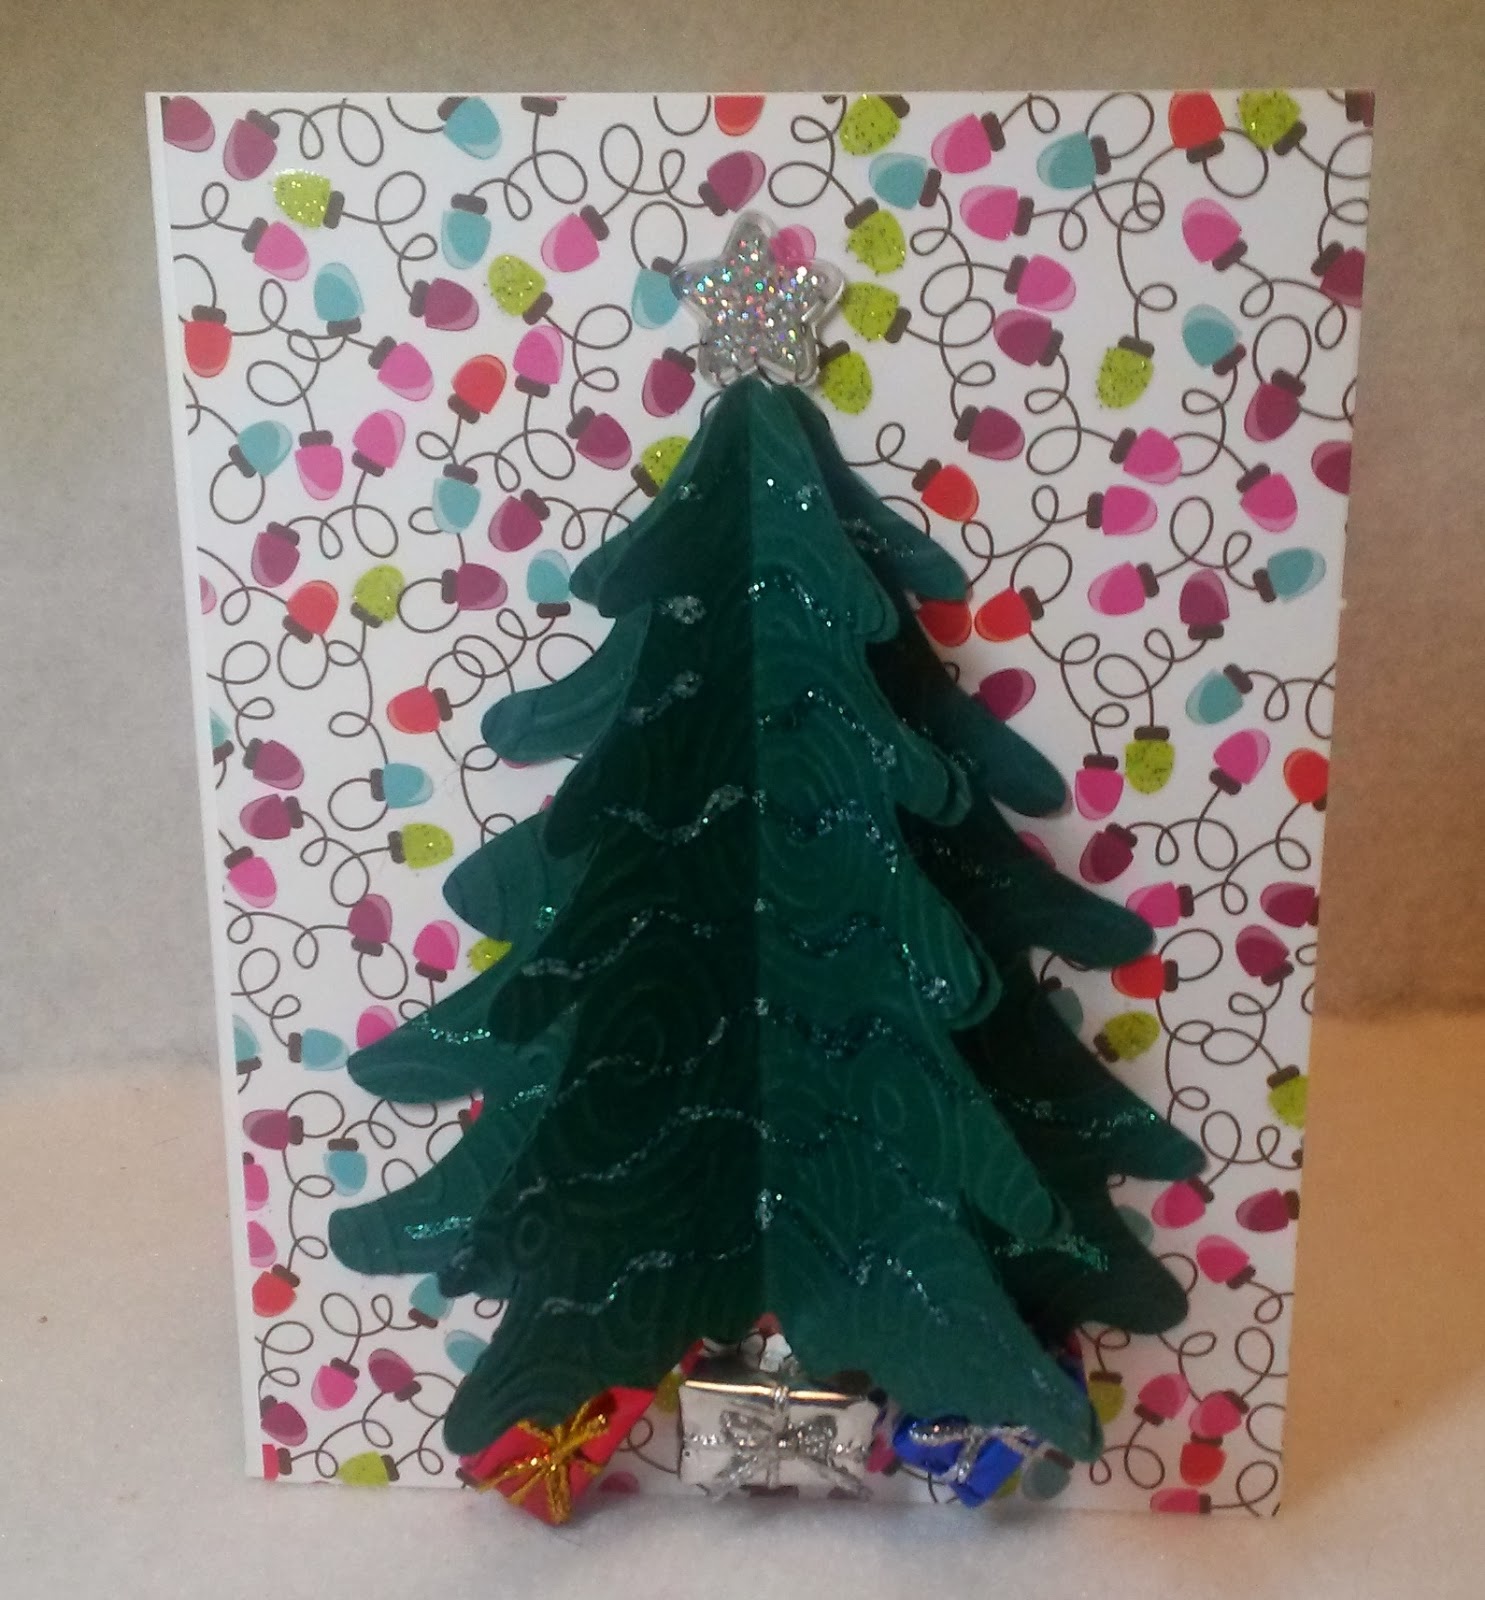
Making my tree 3D.....AWESOME! Yeah, I know everyone is doing it....lol.
I can't remember where I got this adorable corner moose!
An SVG, Nestabilities (Thank you Pam and Thelma) and a Cuttlebug. LUV IT!
Once I got the hang of the snow globes (without throwing glass beads everywhere....lol) it was too much fun to make just one.
Have a safe holiday and I will see you next year!
** Be sure to check out all of the challenges and great projects at Creative Cutting Challenge!!!
Monday, December 2, 2013
Christmas Card Challenge - CCC
10:29 AM
Posted by
T's Corner for Craftin'
Wishing everyone a Merry Christmas and getting into the spirit with a Christmas card challenge! I used the heading from the Christmas Set as my focal point. I cut strips from various papers to make the banners for the background, added a ribbon across the top, strung some lights, and also added a bauble (cut and embossed in the Cuttlebug with a Pepsi can!). Festive was the look I was going for.
Join the Christmas Card Challenge at Creative Cutting Challenge! This is the last challenge of the year, so now is your chance to show us your Christmas cards using any SVG files.
Have a safe and happy holiday season!
Join the Christmas Card Challenge at Creative Cutting Challenge! This is the last challenge of the year, so now is your chance to show us your Christmas cards using any SVG files.
Have a safe and happy holiday season!
Subscribe to:
Posts (Atom)